
Sensorbox - Type Planet
Building a Planet
Building a Planet sensorbox will be described in individual steps in this document.
1. Box and Hinges
The Spelsberg TK PC Box has the ingress protection IP66 - acc. EN 60529 / DIN VDE 0470-1 and an ambient temperature from -35 °C min. to 80 °C max. Due to it’s UV resistancy, weatherproof and a rated insulation voltage 690V AC the box is fitting for outdoor application.
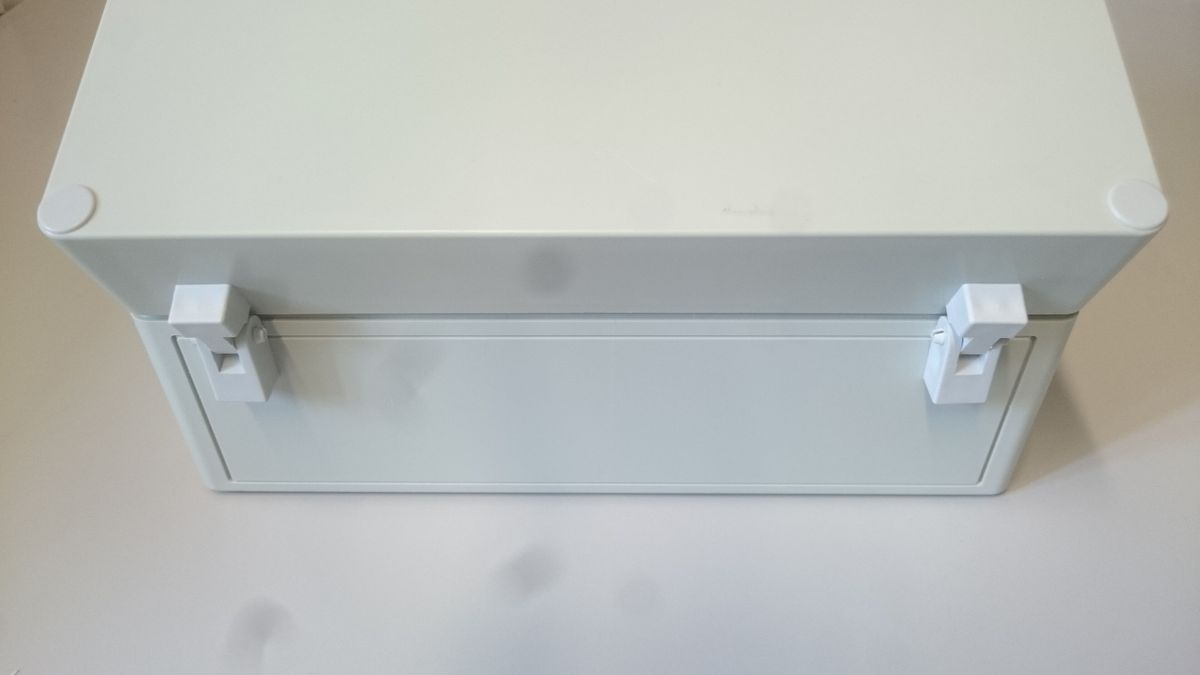
The hingeset is added by using the supplied template.
2. Inlet Socket
The Powercon build-in-socket is embedded by drilling a counterbore (25mm) and 2x M3 Screws placed at the sockets corners. The attached Protective Cap seals the drilling against outside influences like water and dirt.


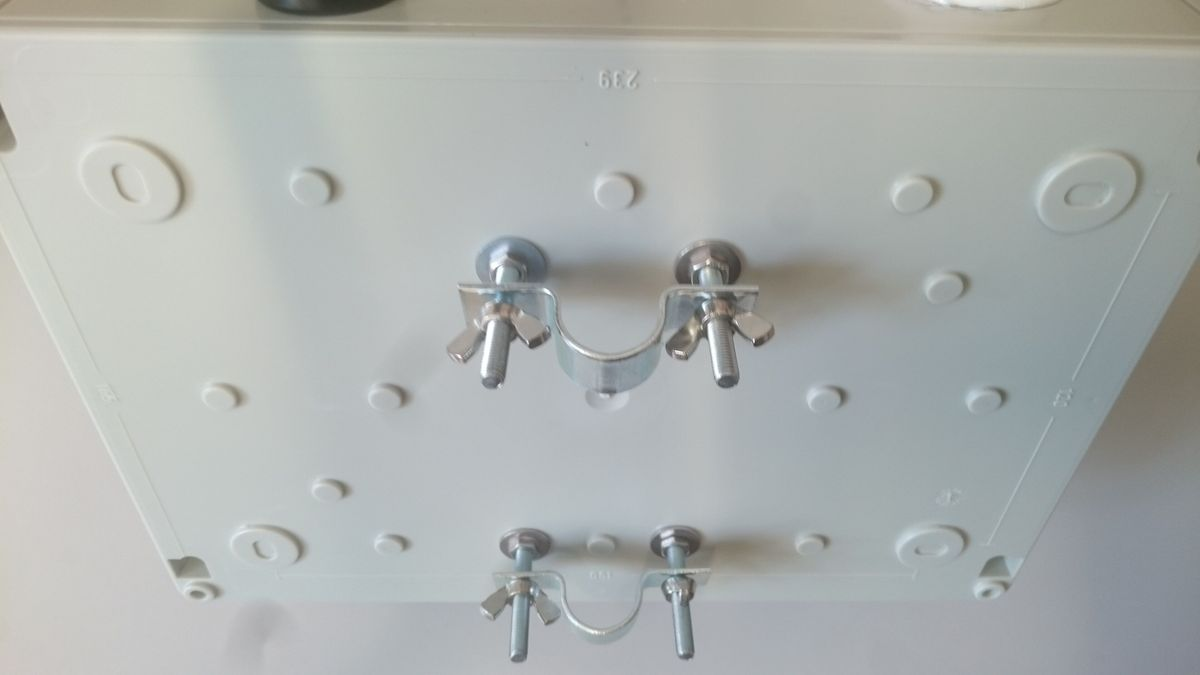
3. Mounting Socket
To ensure the box to be waterproof the drilled holes should be agglutinated with silicone between the washer and the screws.
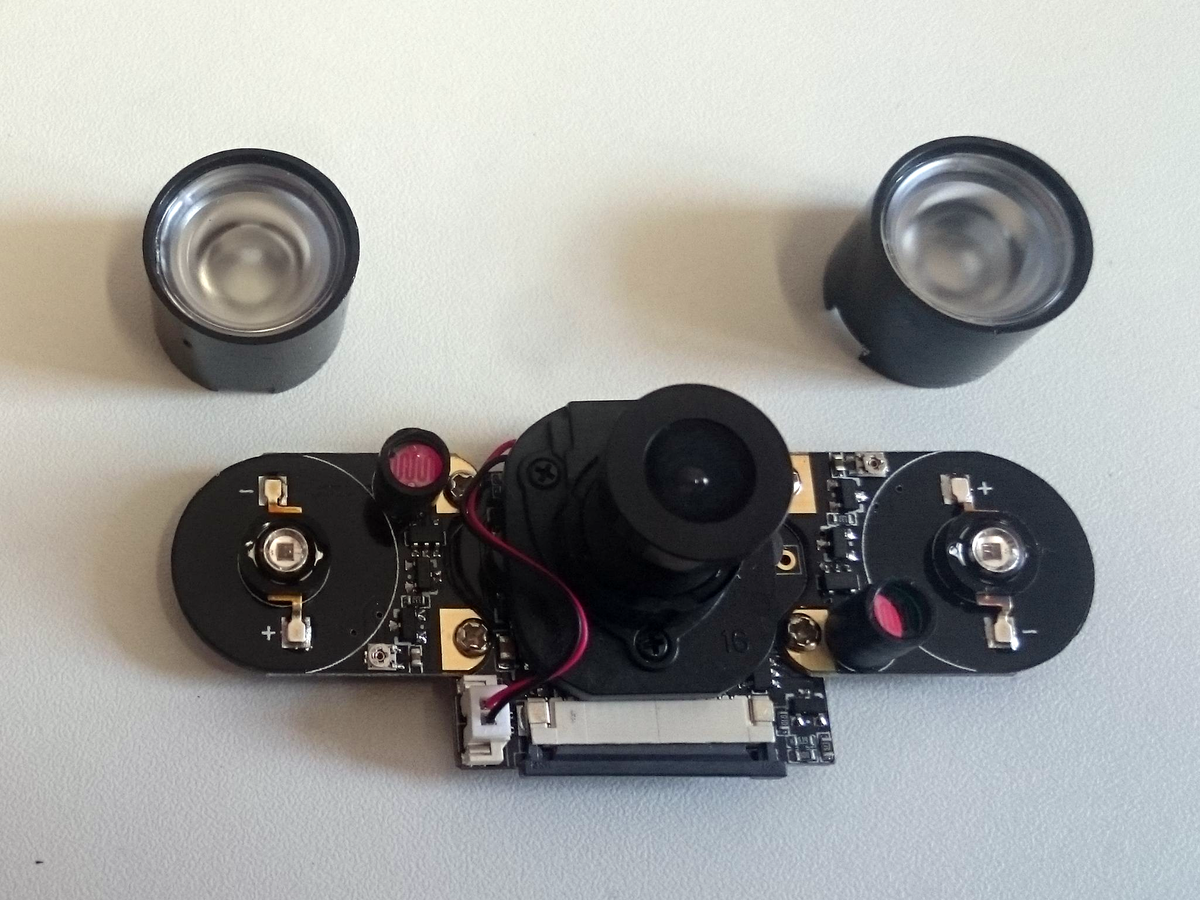
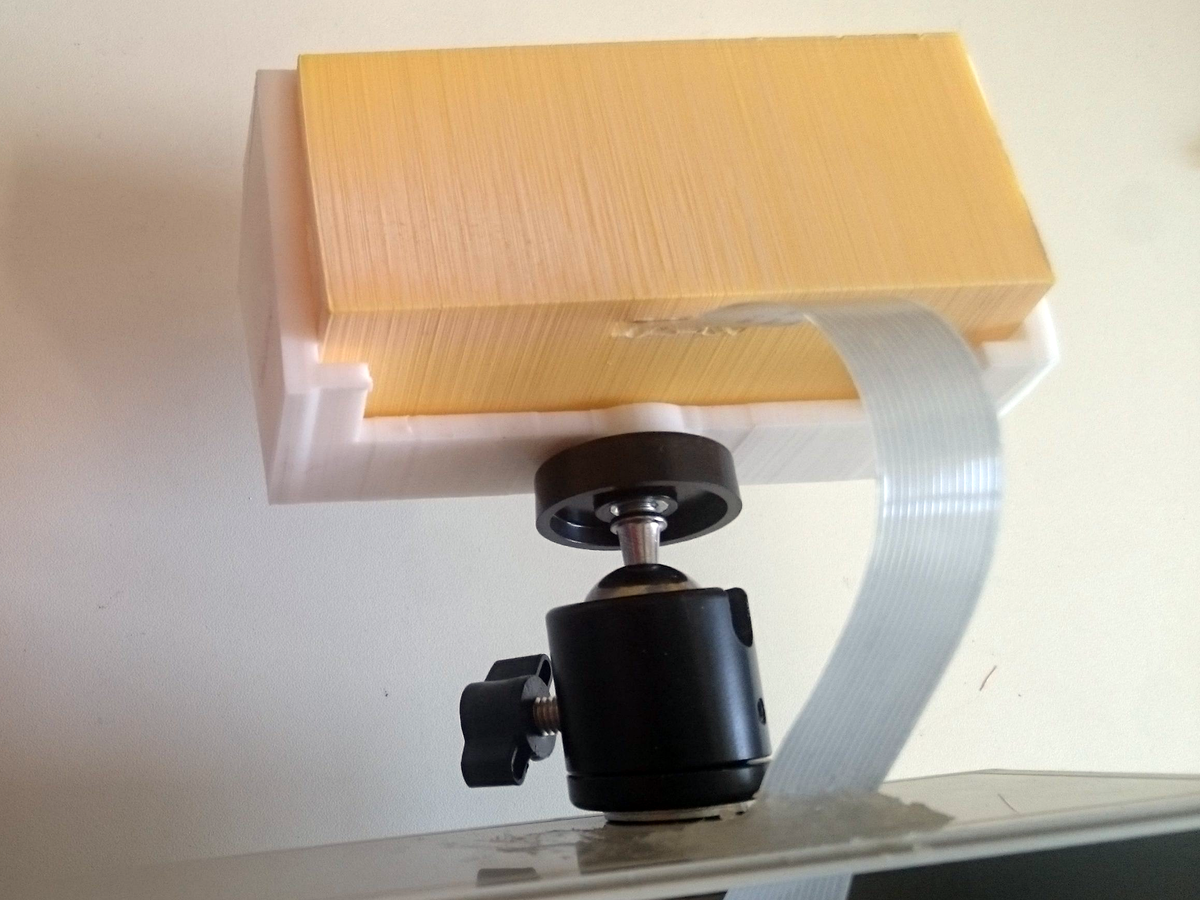
4. IR-Camera
The IR-Camera can be used to support ecological studies, monitor vegetation growth and detect animal wildlife.
- Joy-it IR-Pro 5MP IR CUT CMOS
- Photecs Mini tripod head
- RB-camera-0.30 30cm camera / display cable for Pi
- IR-camera case
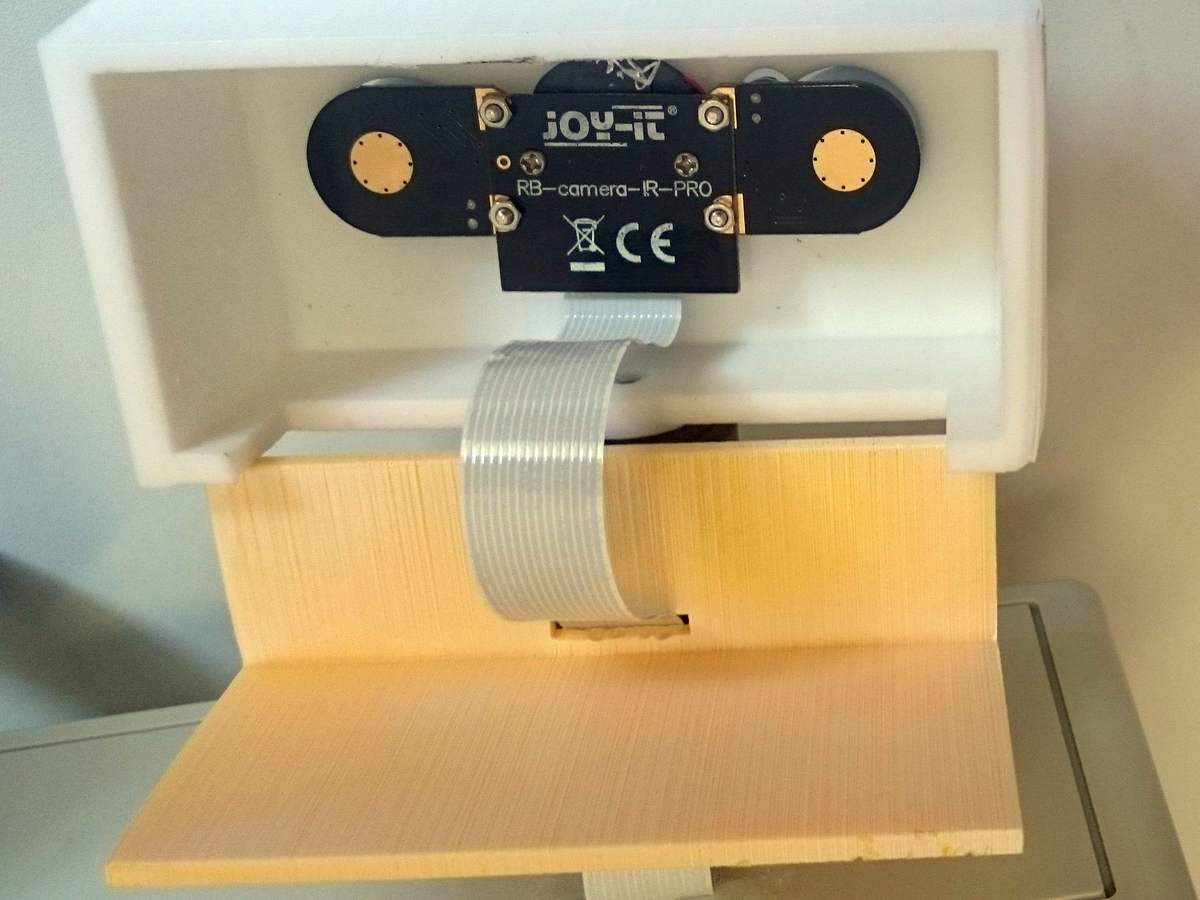
The Joy-it IR-Pro 5MP IR CUT CMOS is delivered with two infrared-radiators. Product information can be found here. The camera and the radiators can be screwed together easily. The radiators socket and upper part are plugged together by default. Bonding the two parts with hot glew making them more resistant for further outdoor application.

The IR-camera case is an individual 3D printed design, containing an insertion for the camera, a detachable lid and a screw threads for the Mini tripod head. Depending on the applied filament, an impregnation should be added additionally.

A special extension for the IR-Camera with switchable IR Filter is to manually set the led pin using sysfs.
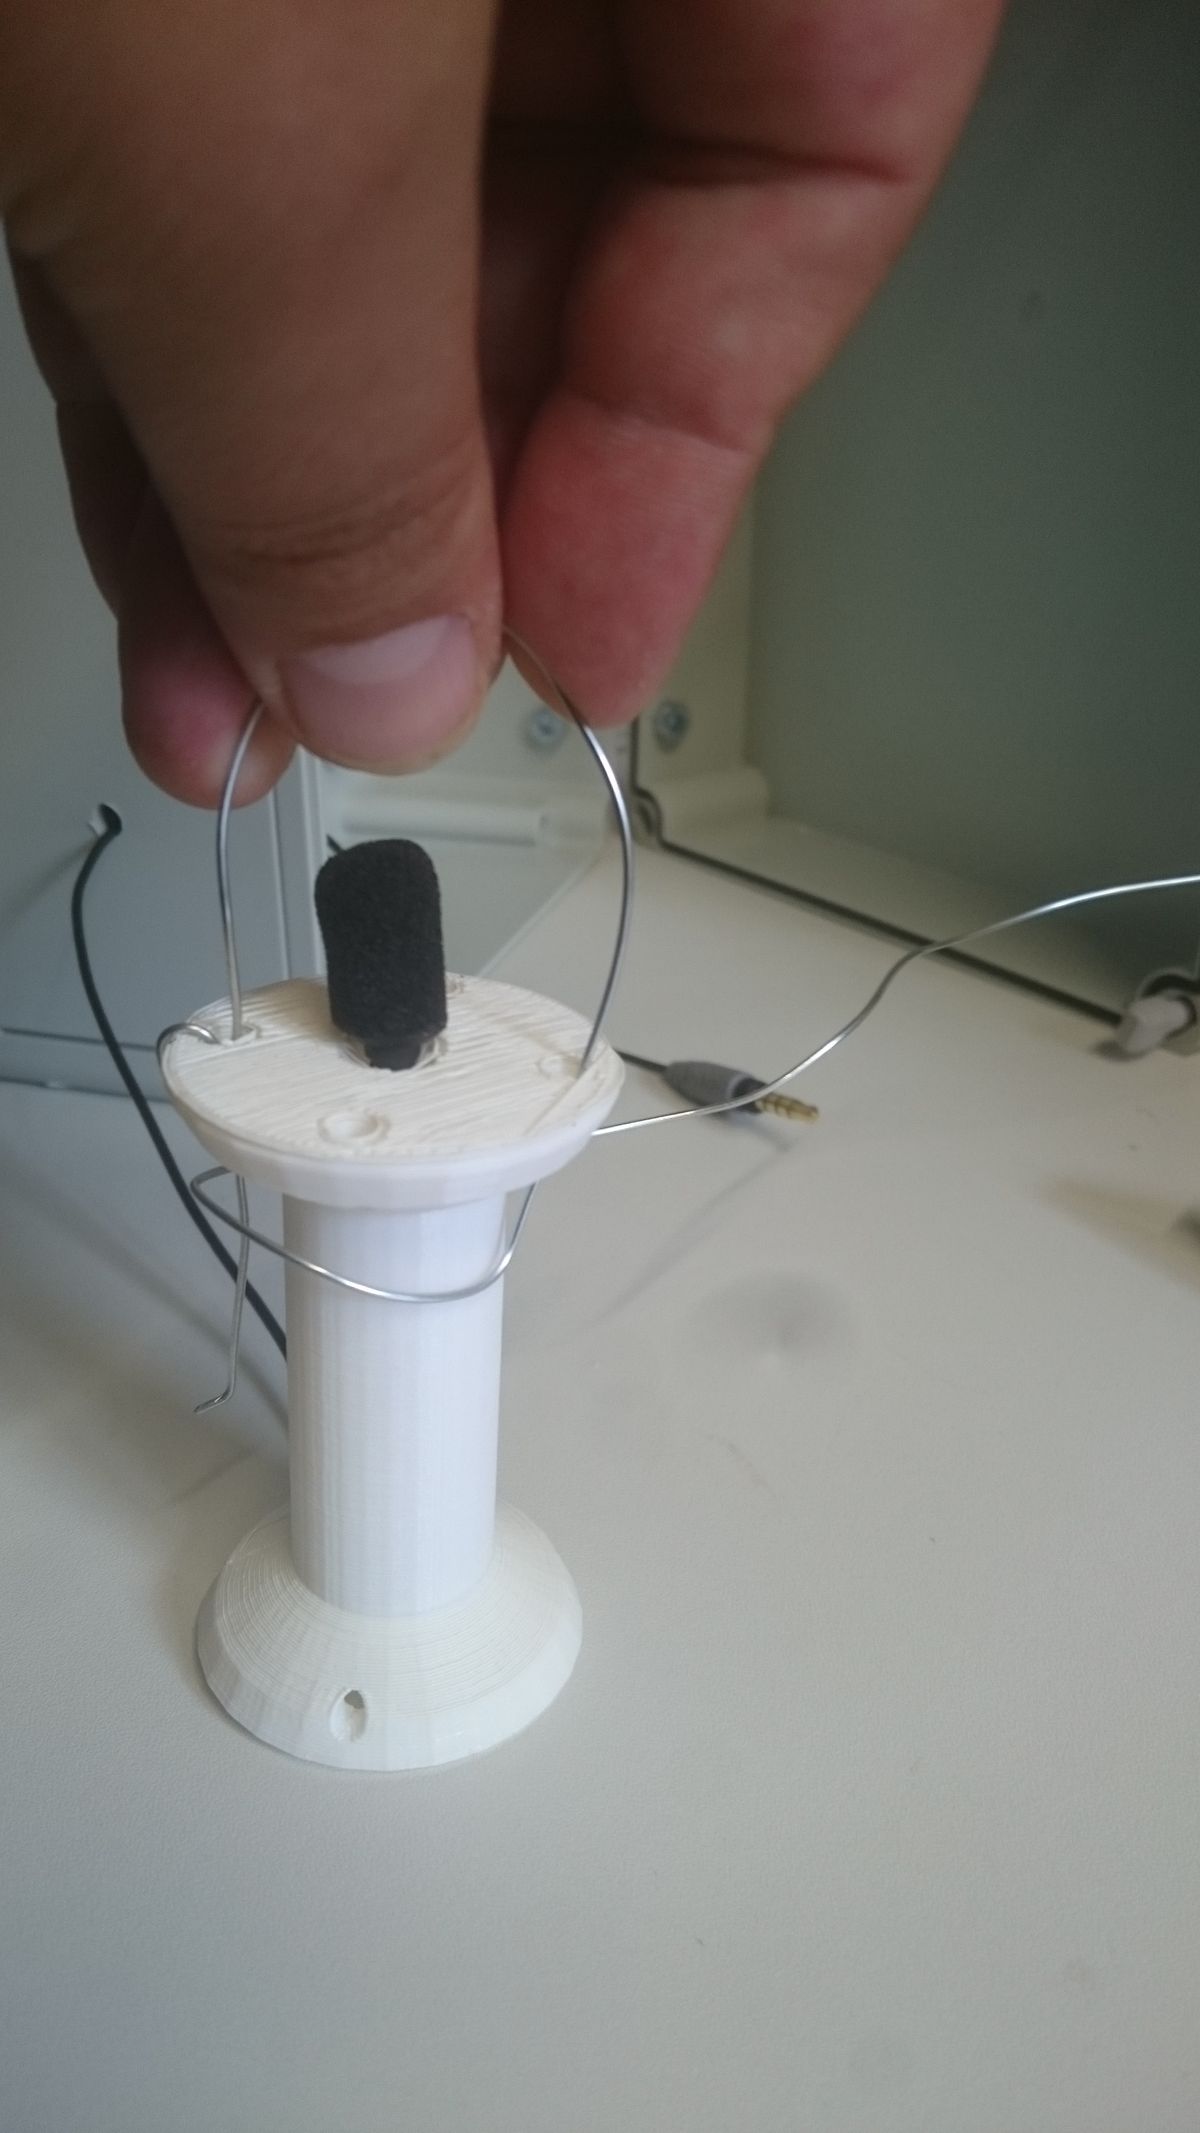
5. Microphone
The microphone is used to record the singing of birds. This data can be used by a machine learning algorithm to identify bird species. Bird species are an important indicator for biodiversity in forest ecosystems. Due to the ranges of quality and price on the microphone market, two alternating microphones have been chosen to attach to the Planet, both models are tested alternately.
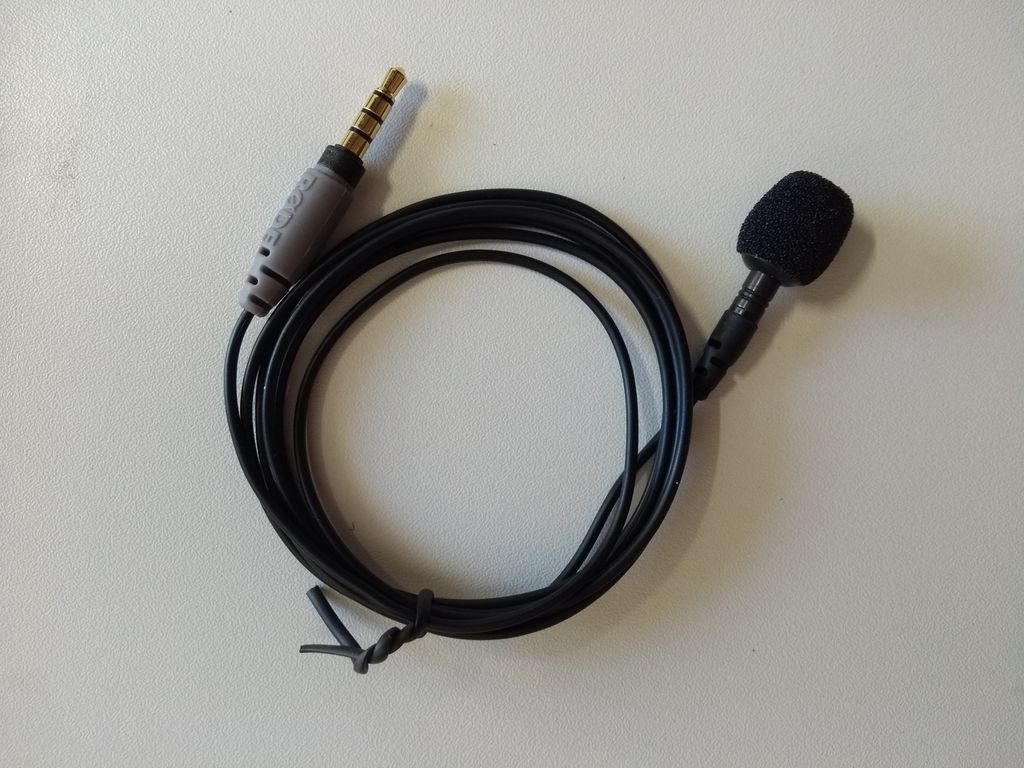
The RØDE – Smartlav Microphone is composed of following components.
- RØDE – Smartlav
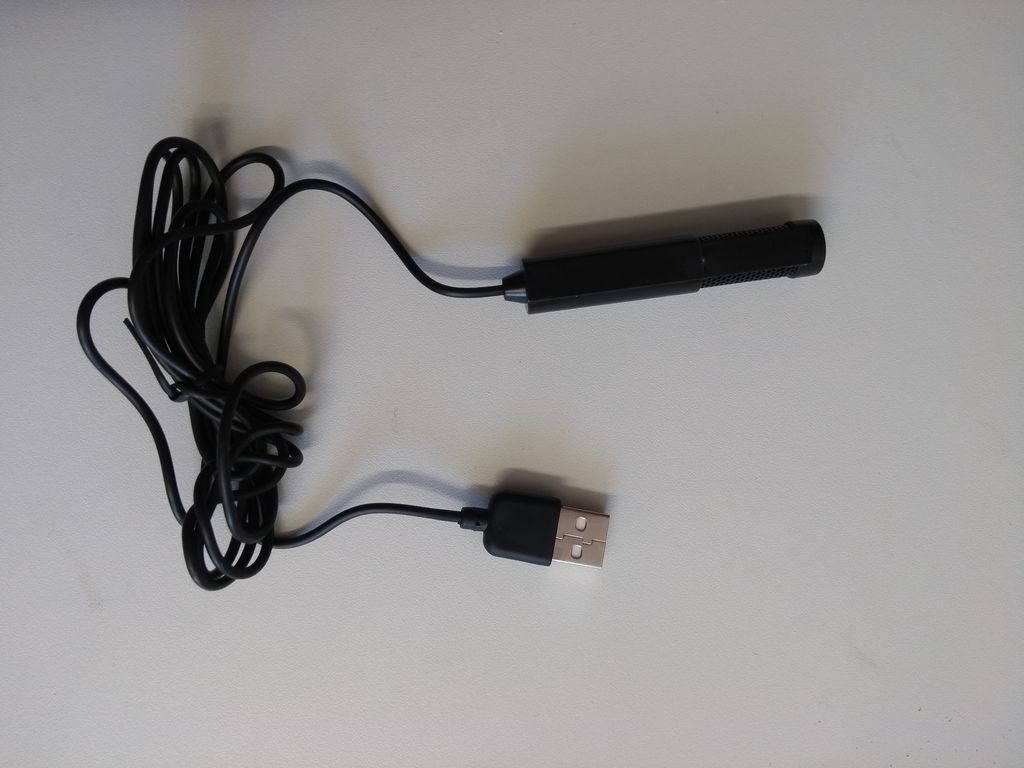
- external soundcard UGREEN USB
- Design - Audio y adapter cinch cable 3.5mm socket to cinch cable
- acoustic cloth 2.0 - 4102/B2 hydrophobic
- metal wire 0.9 mm
The second preference is a lower price Microphone.
- Foxnovo SF-555
- acoustic cloth 2.0 - 4102/B2 hydrophobic
- metal wire 0.9 mm
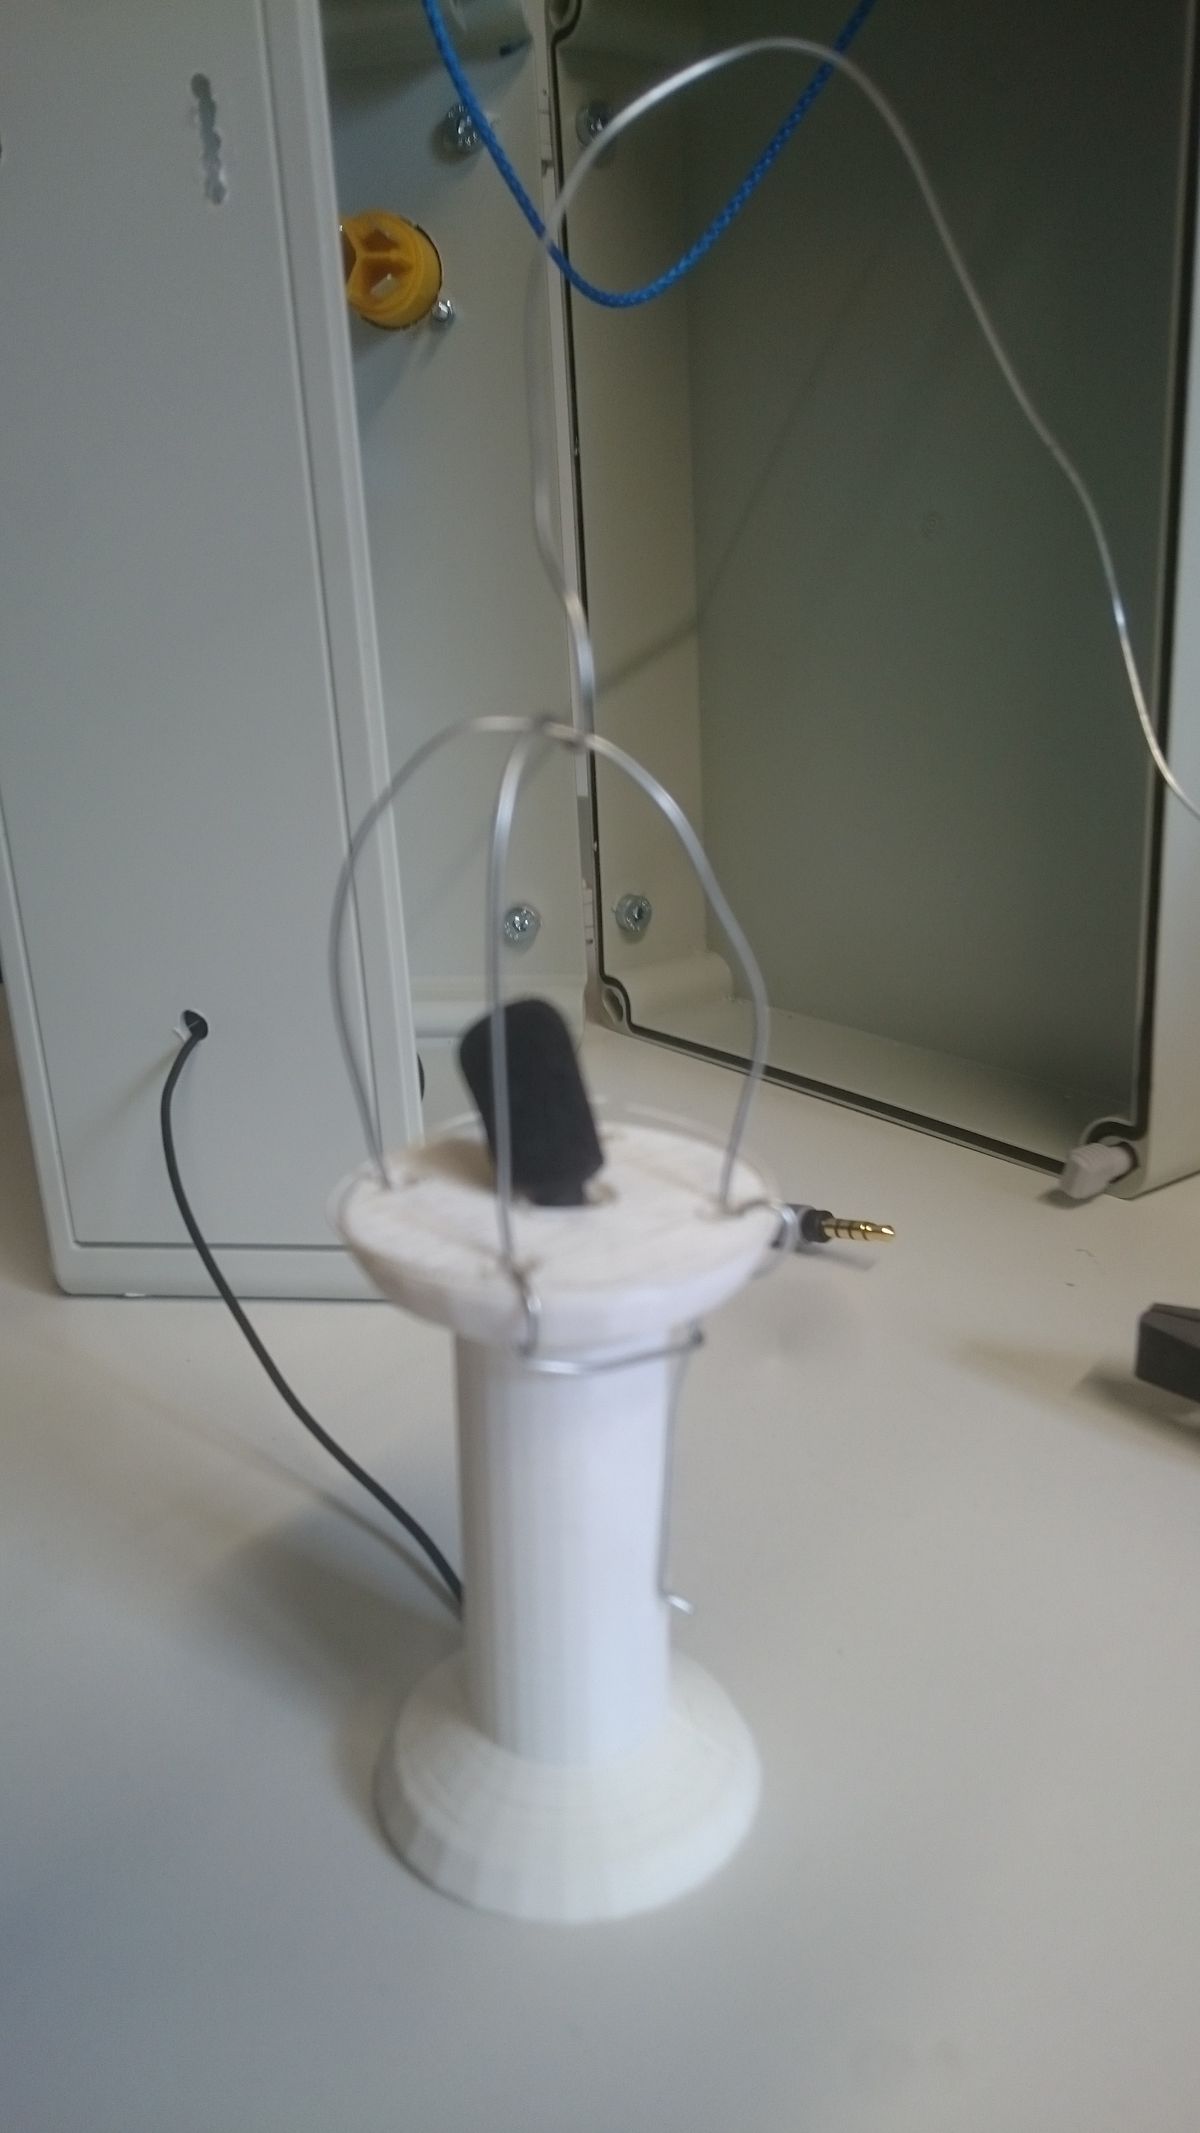
Both microphone types have there individual 3D printed microphone tower, published Foxnovo mount, Rode mount.
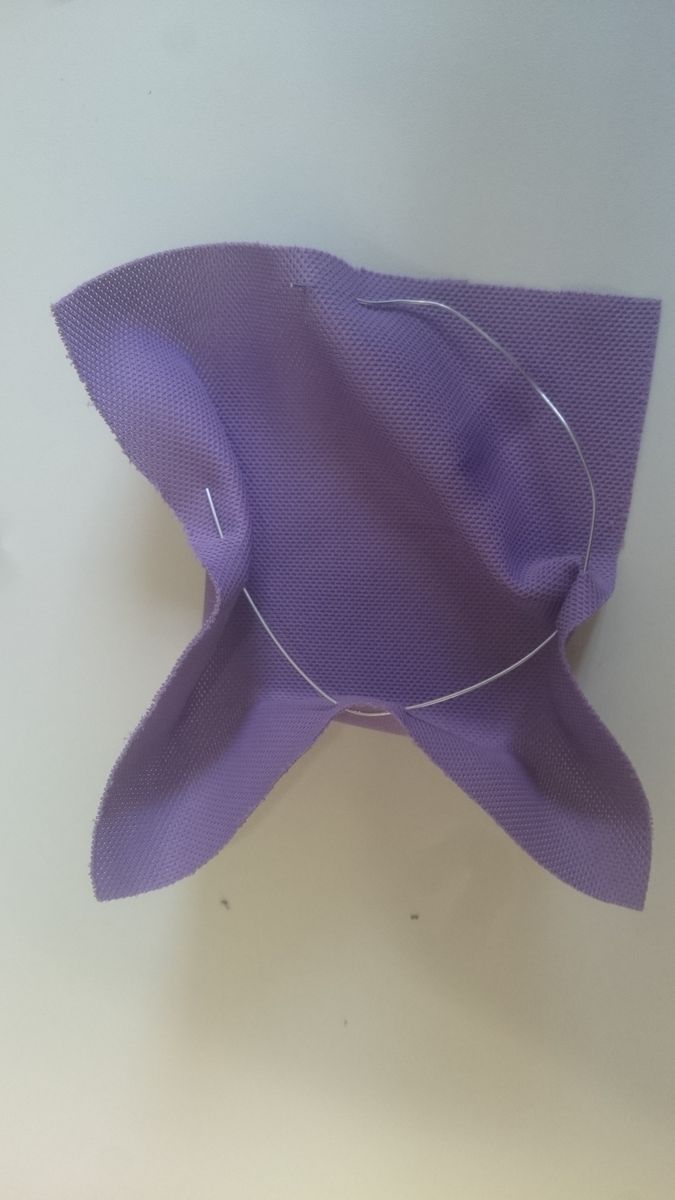
To address the problem of incoming water, the microphone will be sourounded by an hydrophobic acoustic cloth. First an acoustic cloths carrier is constructed on top of the microphone tower using the metal wire.
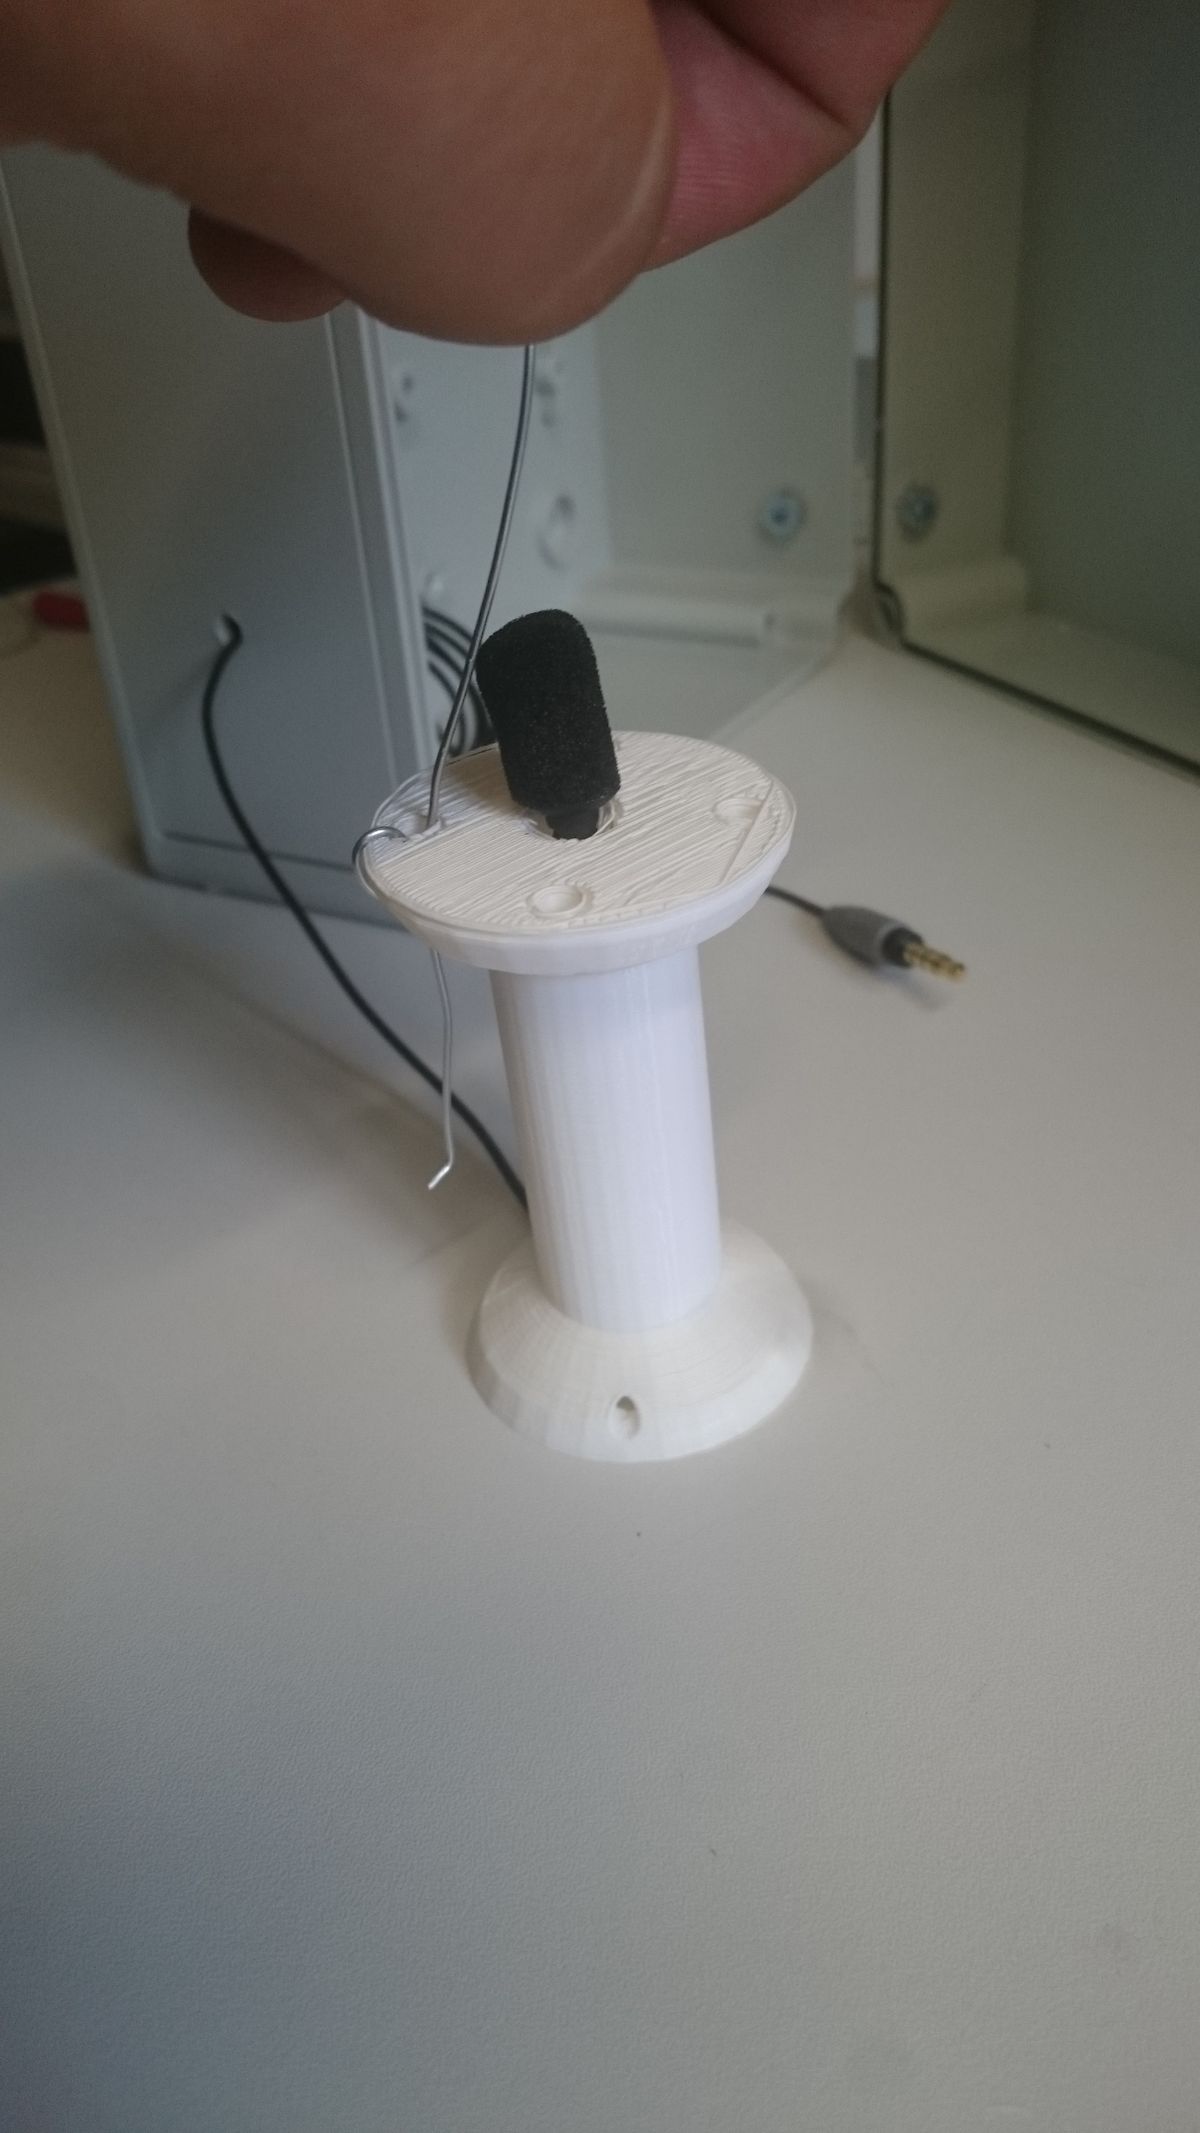
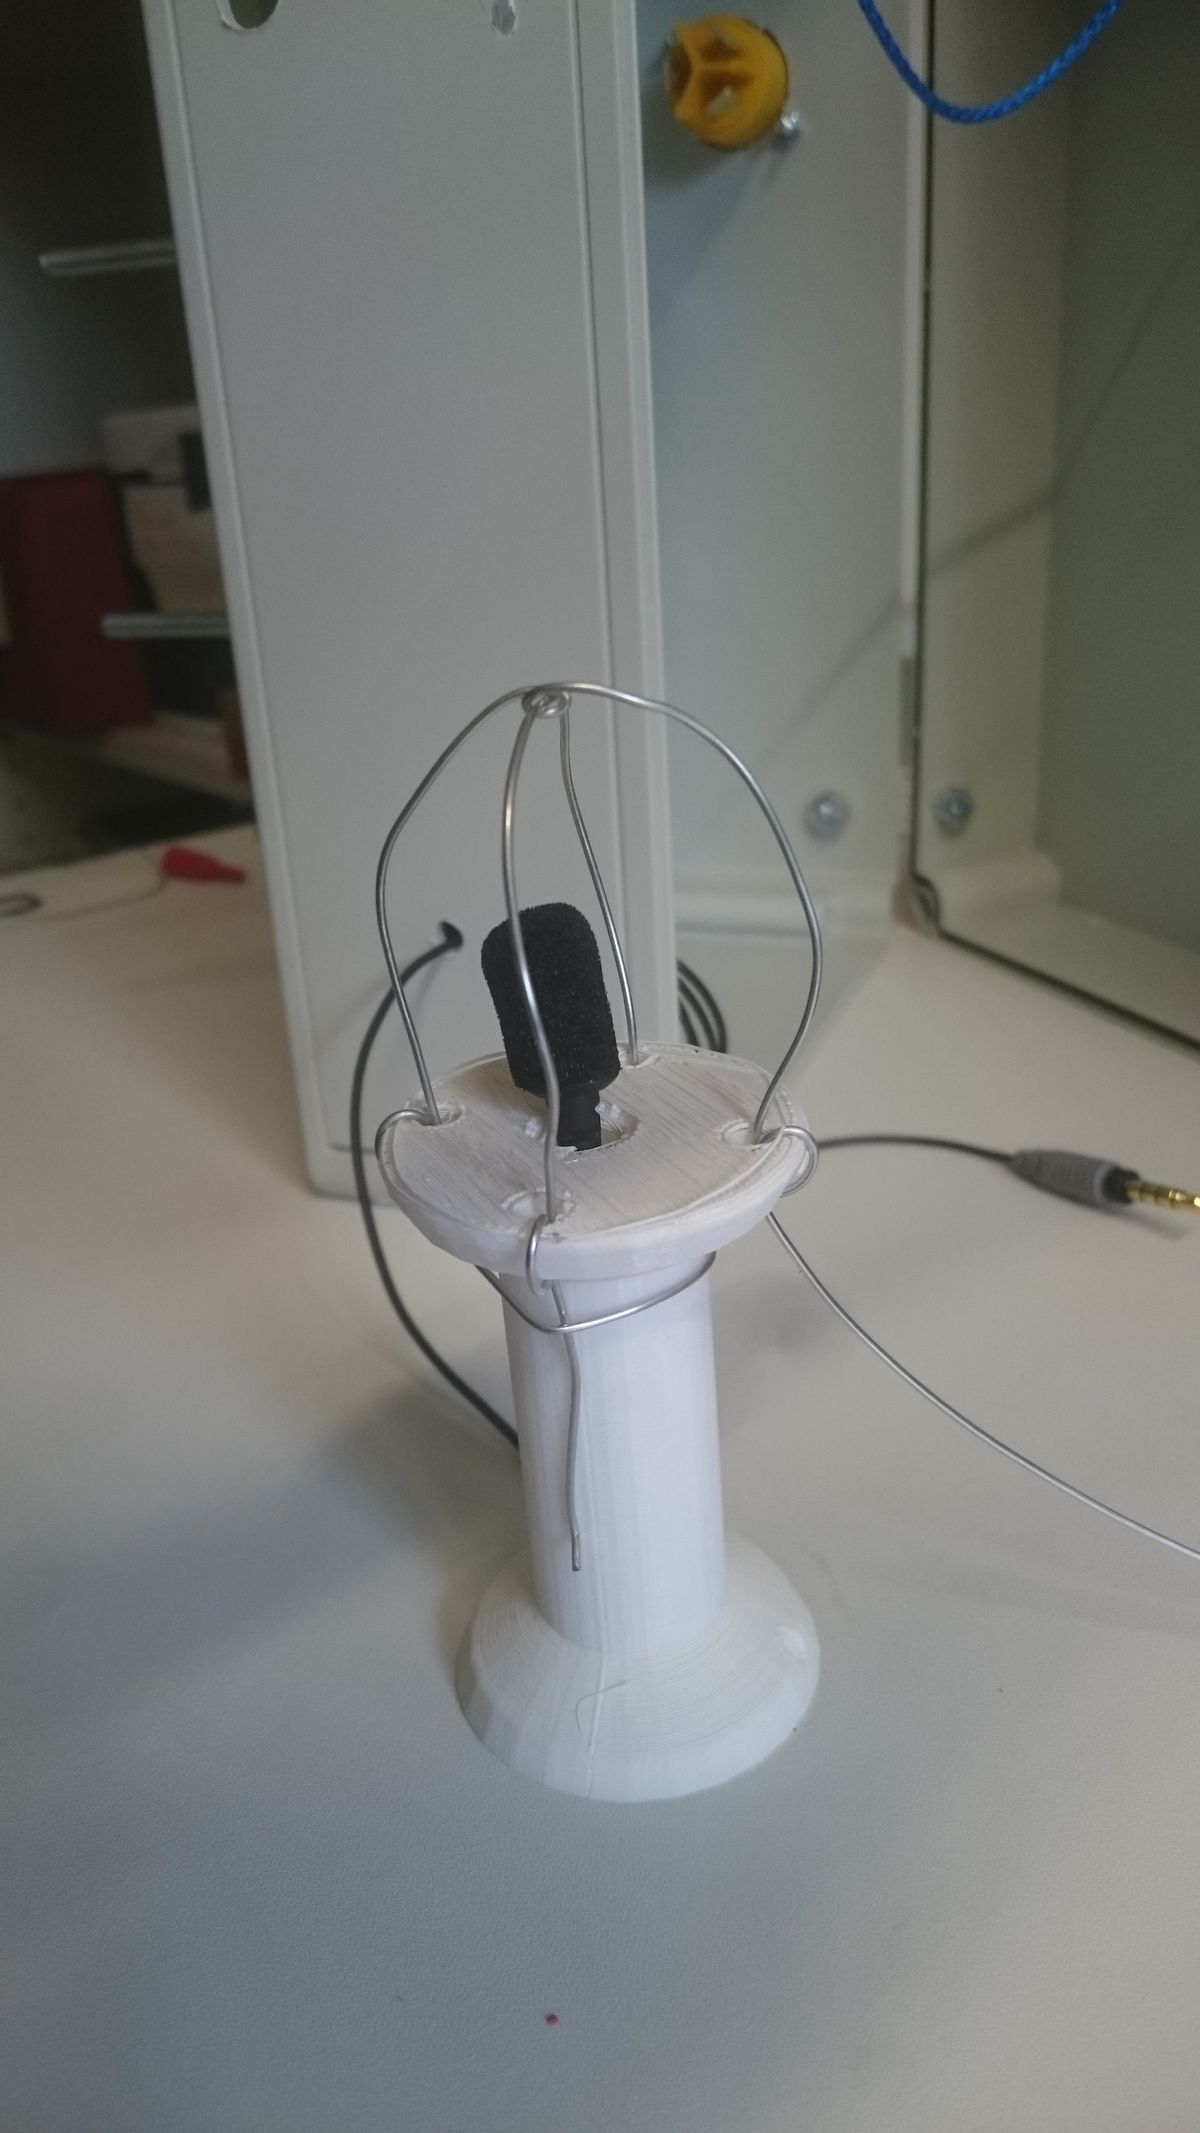


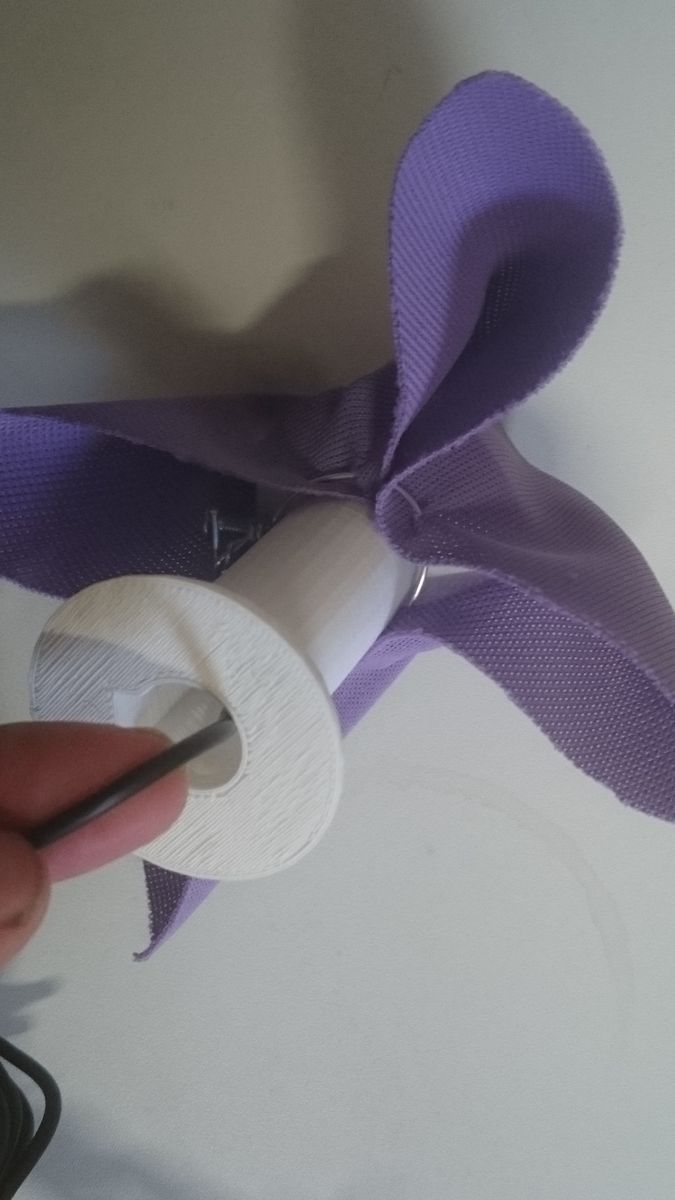
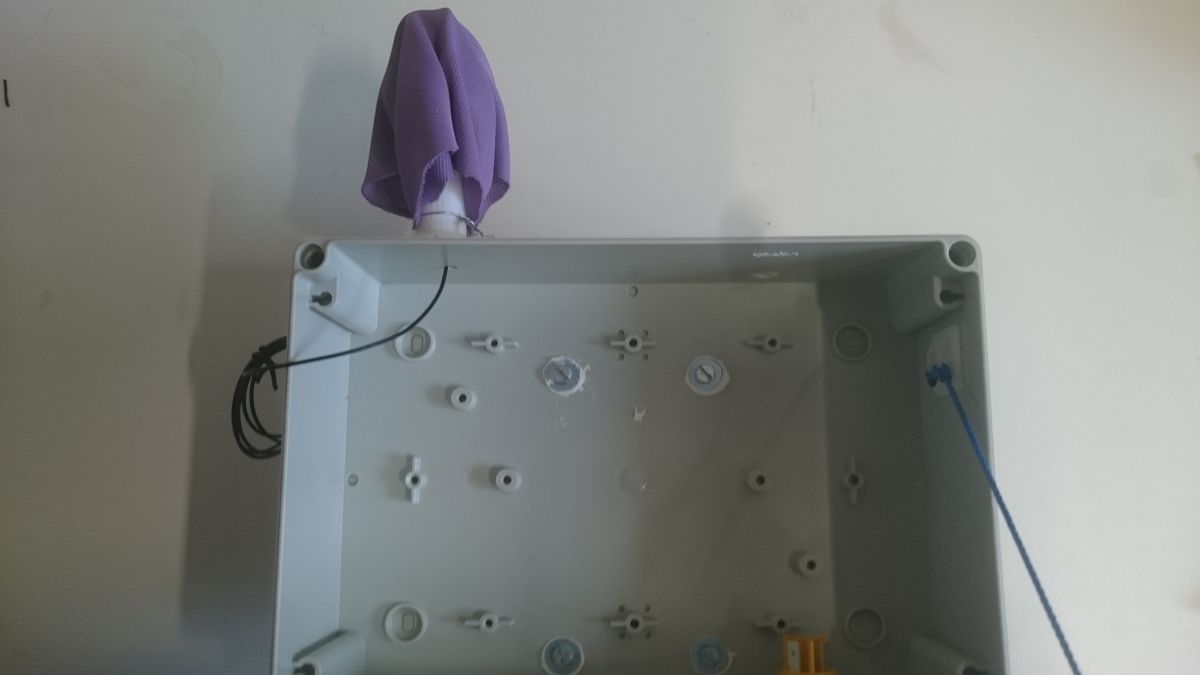
Finally the microphone incl. the tower can be glued on the box.
6. Base Plate
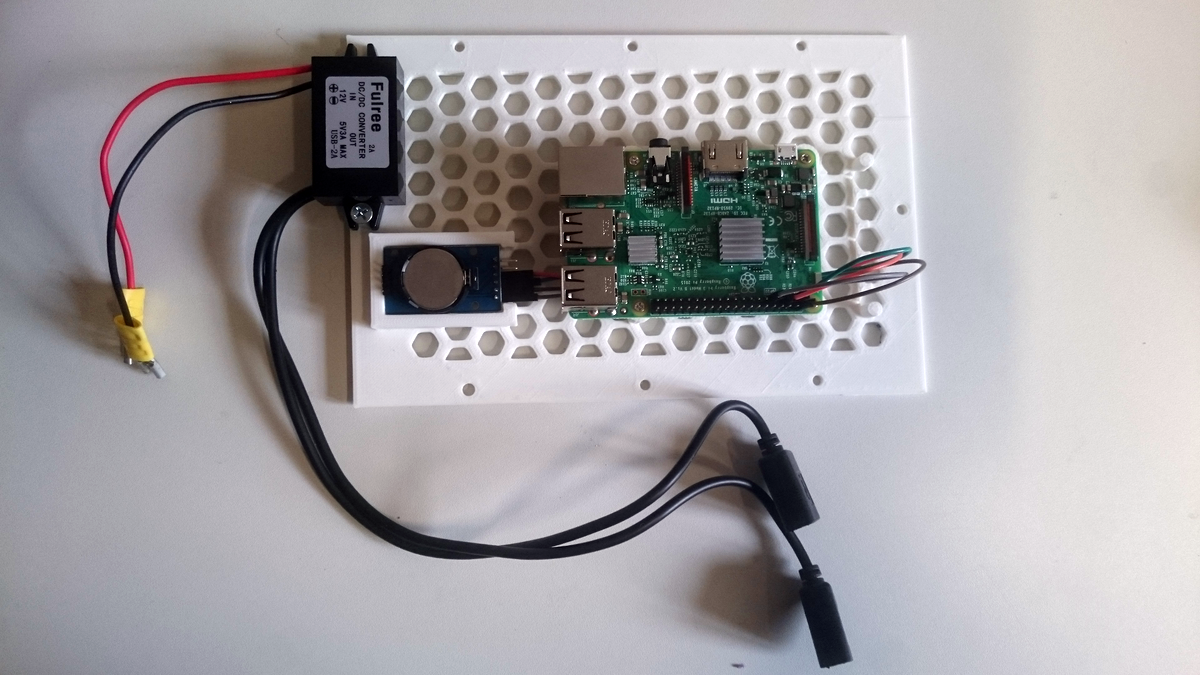
The Raspberry Pi, the Real-time clock as well as DC/DC Converter are directly attached to the 3D printed base plate
The baseplate is using 4x C 2,9 X 13 H countersunk-head tapping screw for the Raspberry Pi, hot glue for the real-time clock and a M 4,0 x 12,0 countersunk-head screws for the DC/DC Converter. Using Jumper Cables the Real-time clock is connected to the Raspberry Pi’s General Purpose Input Output (GPIO) interface.
7. System and Storage
The Samsung MB-MC32GA MicroSD card is directly plugged into the Raspberry Pi, the MicroSD card contains the purpose-build operation system. A freely available repository collects software and hardware descriptions and contains distribution definitions as well as configuration files for sensorboxes.
The integration of the external hard disk allows to store bigger amounts of recorded data as well as a simple data exchange. It’s easily attached to the bottom of the box using a dual lock velcro strap. Furthermore it ensures vibration dampening.


Parts List
These parts are required to build a sensorbox type planet.
Basis
- Spelsberg TK PS 2518-11-o (180 x 254 x 111 mm)
- External hinge set Spelsberg ASS-gro
- Raspberry Pi 3 B v1.2
- DS3231 real-time clock
Power Supply
- Inlet: Neutrik powerCON TRUE1 NAC3MPX
- Sealing cover: Neutrik SCNAC-MPX
- 12V / 5V step down converter, 3A, 2x USB
- USB -> microUSB cable
- USB data + USB power -> microUSB cable
Sensors
IR Camera
Microphone
- Acoustic cloth 2.0 - 4102/B2 hydrophobic cloth
- Metal wire 0.9 mm
Option 1: RØDE – Smartlav Microphone
- RØDE – Smartlav
- external soundcard UGREEN USB
- Audio y-adapter cinch cable 3.5mm socket to cinch cable
Option 2: low-price microphone
- Foxnovo SF-555
Storage
The planet contains a microSD card inserted to the Raspberry Pi and a hard disk, which needs to be connected to USB power and the Pi to cope with high power demands on speedup. The disk is attached to the box using 3M DualLock.
- Toshiba Canvio Basics USB3.0 1TB
- Samsung EVO Plus microSD card, 32 GB MB-MC32GA
Mounting
- Custom 3D-printed base plate
- Pi: 4x C 2,9 X 13 H countersunk-head tapping screw (DIN 7982)
- Box: 5x M 4,0 x 12,0 countersunk-head screws DIN 965
- Hard Disk, USB Sound Card: 3M Dual Lock Thin SJ 457 D
- 12V -> 5V Step Down: Hot Glue
- Camera Tripod Head: Screw Din 933, 3/8’’ x 16mm
- Silicone (for sealing cable holes)
- Mounting Socket:
- 4x wing nut M5
- 4x screw M5x40
- 4x nut M5
- 8x washer 5,3
- 2x round pipe bracket d=20mm
Wiring
- Power Inlet: 2x 6,35mm / 1/4’’ crimp FASTON terminals
- RPi: USB A -> microUSB B cable
- HDD: USB 3.0 Data + Power -> micro USB 3.0 (y-cable)
- RTC: 4x Jumper Wire female-female
- Camera: 30cm CSI camera cable